12 nov - 3 dec
Materials:
- 3 AA Battery pack
- Single LED
- 6 Wire
- Circle LED
- LED strip
- LED screen
Course organisation:
- [12 Nov] Get to know, install and test Getting to know Neopixel, install the software, know the possibitilities, possible projects
- [19 Nov] Program and design Explain the different projects, design the project, and solder the electronics
- [26 Nov] Make Soldering and programming
- [3 Dec] Finish Sewing/glue and finishing projects
[DAY 1] Get to know, connect and install
Test material
Necessary materials:
- Computer
- Arduino IDE
- Arduino UNO
- 3 LEDS connected in serie
- Cables to Arduino
Steps:
- Install Arduino IDE
- Open Arduino IDE, go to File > Examples > Basics > Blink
- Press Upload. Check that the LED is blinking
- Install Neopixel Library. Go to Library Manager > Search for Adafruit Neopixel > Install
- Test Neopixel test. Go to File > Examples > Neopixel > Strandtest
- Modify NUMPIXELS to be 3
- Press Upload. Check that the LEDS are green.
#include <Adafruit_NeoPixel.h>

#define PIN        6

#define NUMPIXELS 3

Adafruit_NeoPixel pixels(NUMPIXELS, PIN, NEO_GRB + NEO_KHZ800);

void setup() {
  pixels.begin(); // INITIALIZE NeoPixel strip object (REQUIRED)
}

void loop() {
  pixels.clear(); // Set all pixel colors to 'off'

  for(int i=0; i<NUMPIXELS; i++) {
    pixels.setPixelColor(i, pixels.Color(0, 150, 0));
    pixels.show();   // Send the updated pixel colors to the hardware.
    delay(500); // Pause before next pass through loop
  }
}
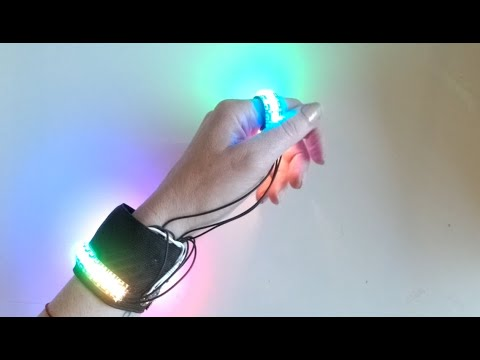
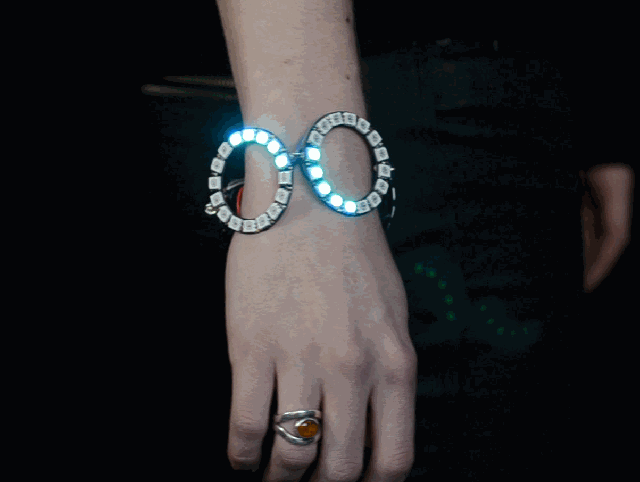
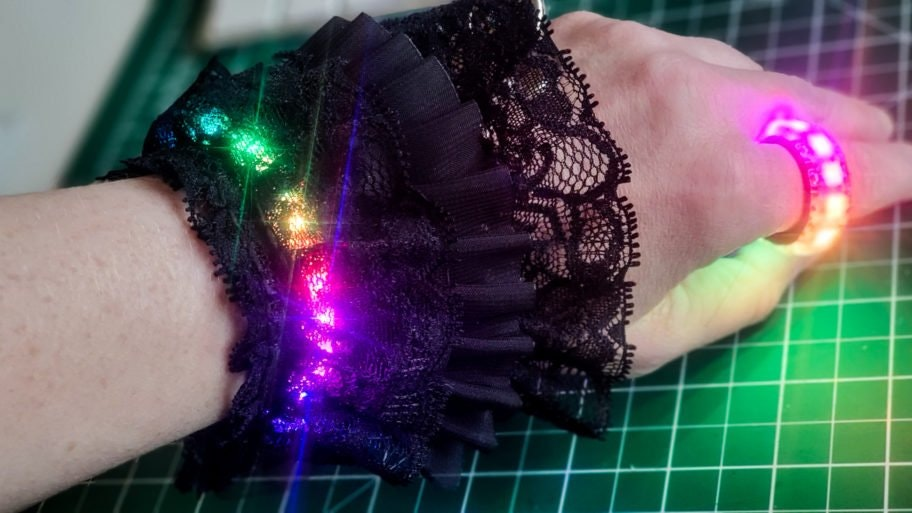
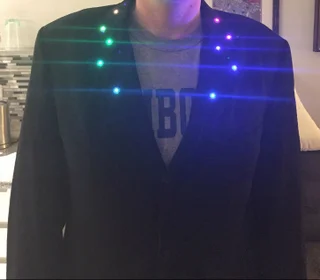
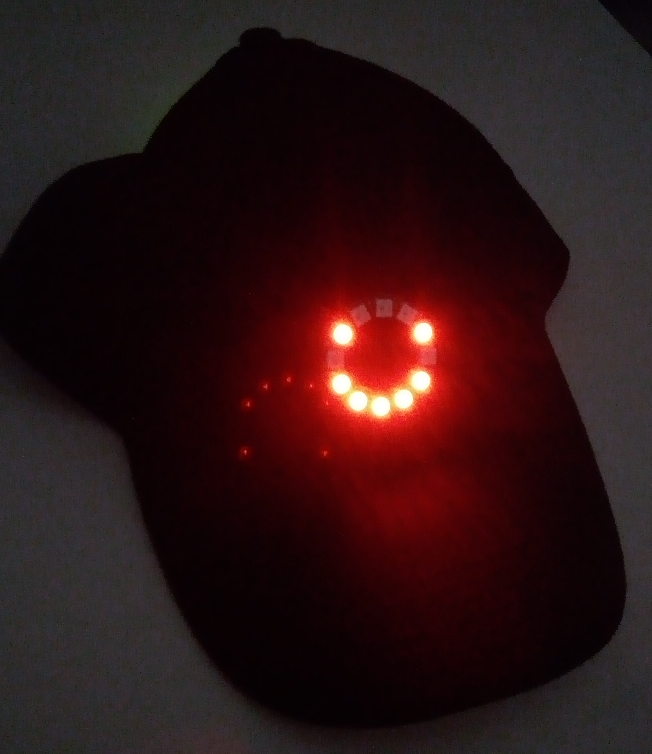
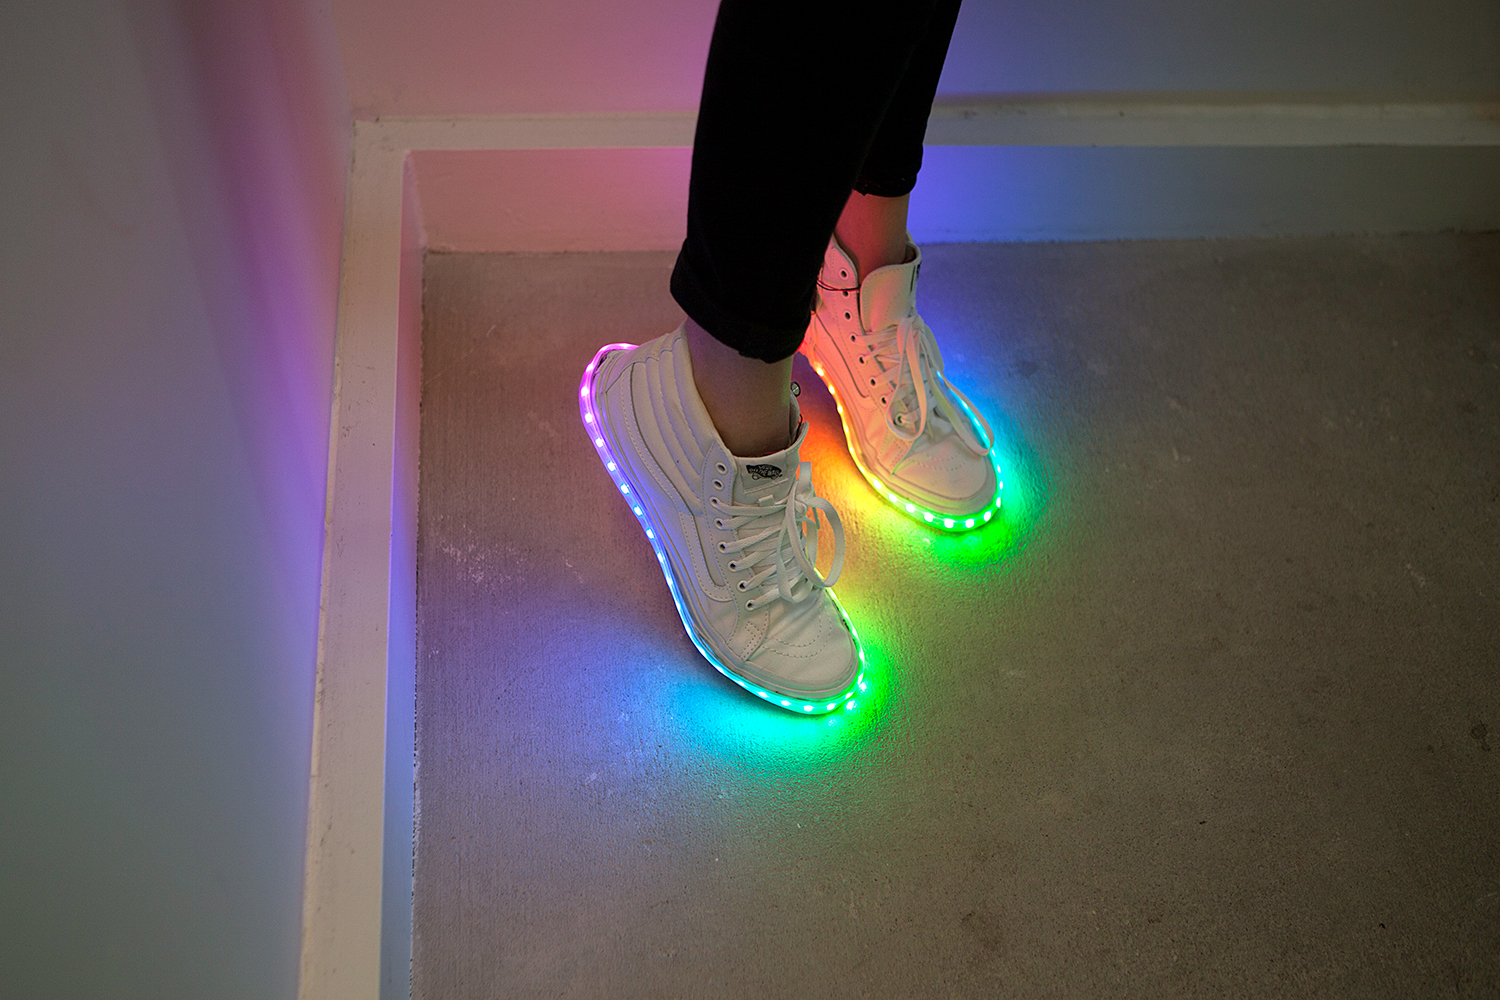
Ideas for projects
Work for next day: Think what project you want to work in, bring the clothes for next day.
[DAY 2] Program and design
Arduino program structure
#define VARIABLE 123

void setup(){
    // This is a comment
    // Setup is run once
}

void loop(){
    // Loop is running constantly
}
Blink example
void setup() {
  // initialize digital pin LED_BUILTIN as an output.
  pinMode(LED_BUILTIN, OUTPUT);
}

// the loop function runs over and over again forever
void loop() {
  digitalWrite(LED_BUILTIN, HIGH);  // turn the LED on (HIGH is the voltage level)
  delay(1000);                      // wait for a second
  digitalWrite(LED_BUILTIN, LOW);   // turn the LED off by making the voltage LOW
  delay(1000);                      // wait for a second
}
Challenge: How can we make the blink faster?
Neopixel program structure
#include <Adafruit_NeoPixel.h>

#define PIN        6

#define NUMPIXELS 3

Adafruit_NeoPixel pixels(NUMPIXELS, PIN, NEO_GRB + NEO_KHZ800);

void setup() {
  pixels.begin(); // INITIALIZE NeoPixel strip object (REQUIRED)

  pixels.clear();
  pixels.show();
}

void loop() {
  pixels.clear(); // Set all pixel colors to 'off'

  pixels.setPixelColor(0, pixels.Color(150, 0, 0));
  pixels.show();
  delay(1000);

  pixels.setPixelColor(1, pixels.Color(0, 150, 0));
  pixels.show();
  delay(1000);

  pixels.setPixelColor(2, pixels.Color(0, 0, 150));
  pixels.show();
  delay(1000);
}
Challenge: How can we display white? How can we make it faster?
Keywords
delay(1000);         // Wait for 1 Sec
delay(5000);         // Wait for 5 Sec
delay(500);         // Wait for 500 Milliseconds
pixels.setPixelColor(0, pixels.Color(0, 0, 0));          // Set pixel number 0 to black
pixels.setPixelColor(1, pixels.Color(255, 0, 0));        // Set pixel number 1 to red
pixels.setPixelColor(2, pixels.Color(0, 255, 0));        // Set pixel number 2 to green
pixels.setPixelColor(0, pixels.Color(0, 0, 255));        // Set pixel number 0 to blue
pixels.setPixelColor(1, pixels.Color(255, 255, 0));      // Set pixel number 1 to yellow
pixels.clear();          // Clean the screen
pixels.show();           // Apply configuration to LEDS
// Repeat 3 times: Put led on color red
for (int i = 0; i < 3; i++) {
  pixels.setPixelColor(i, pixels.Color(255, 0, 0));
  pixels.show();
  delay(100);
}
You can use examples from the library in Examples > Neopixel
Next step - Design your project and solder the leds
[Day 3] Make and Solder
No material is necessary for this day.
[Day 4] Finishing projects
No material is necessary for this day.