In this guide we will show:
- How to flash a test software using the Arduino IDE.
- How to flash the COMMS software using Platform IO.
Material required
- Prototype subsystem board
- ESP-Prog, is a external programmer
- Arduino IDE installed
- ESP32 boards installed in Arduino IDE
How to flash a test software using the Arduino IDE
The first example is to blink a led, that way we are going to verify that we are able to upload the code. The steps are:
- Connect the ESP-Prog to the prototype subsystem board:
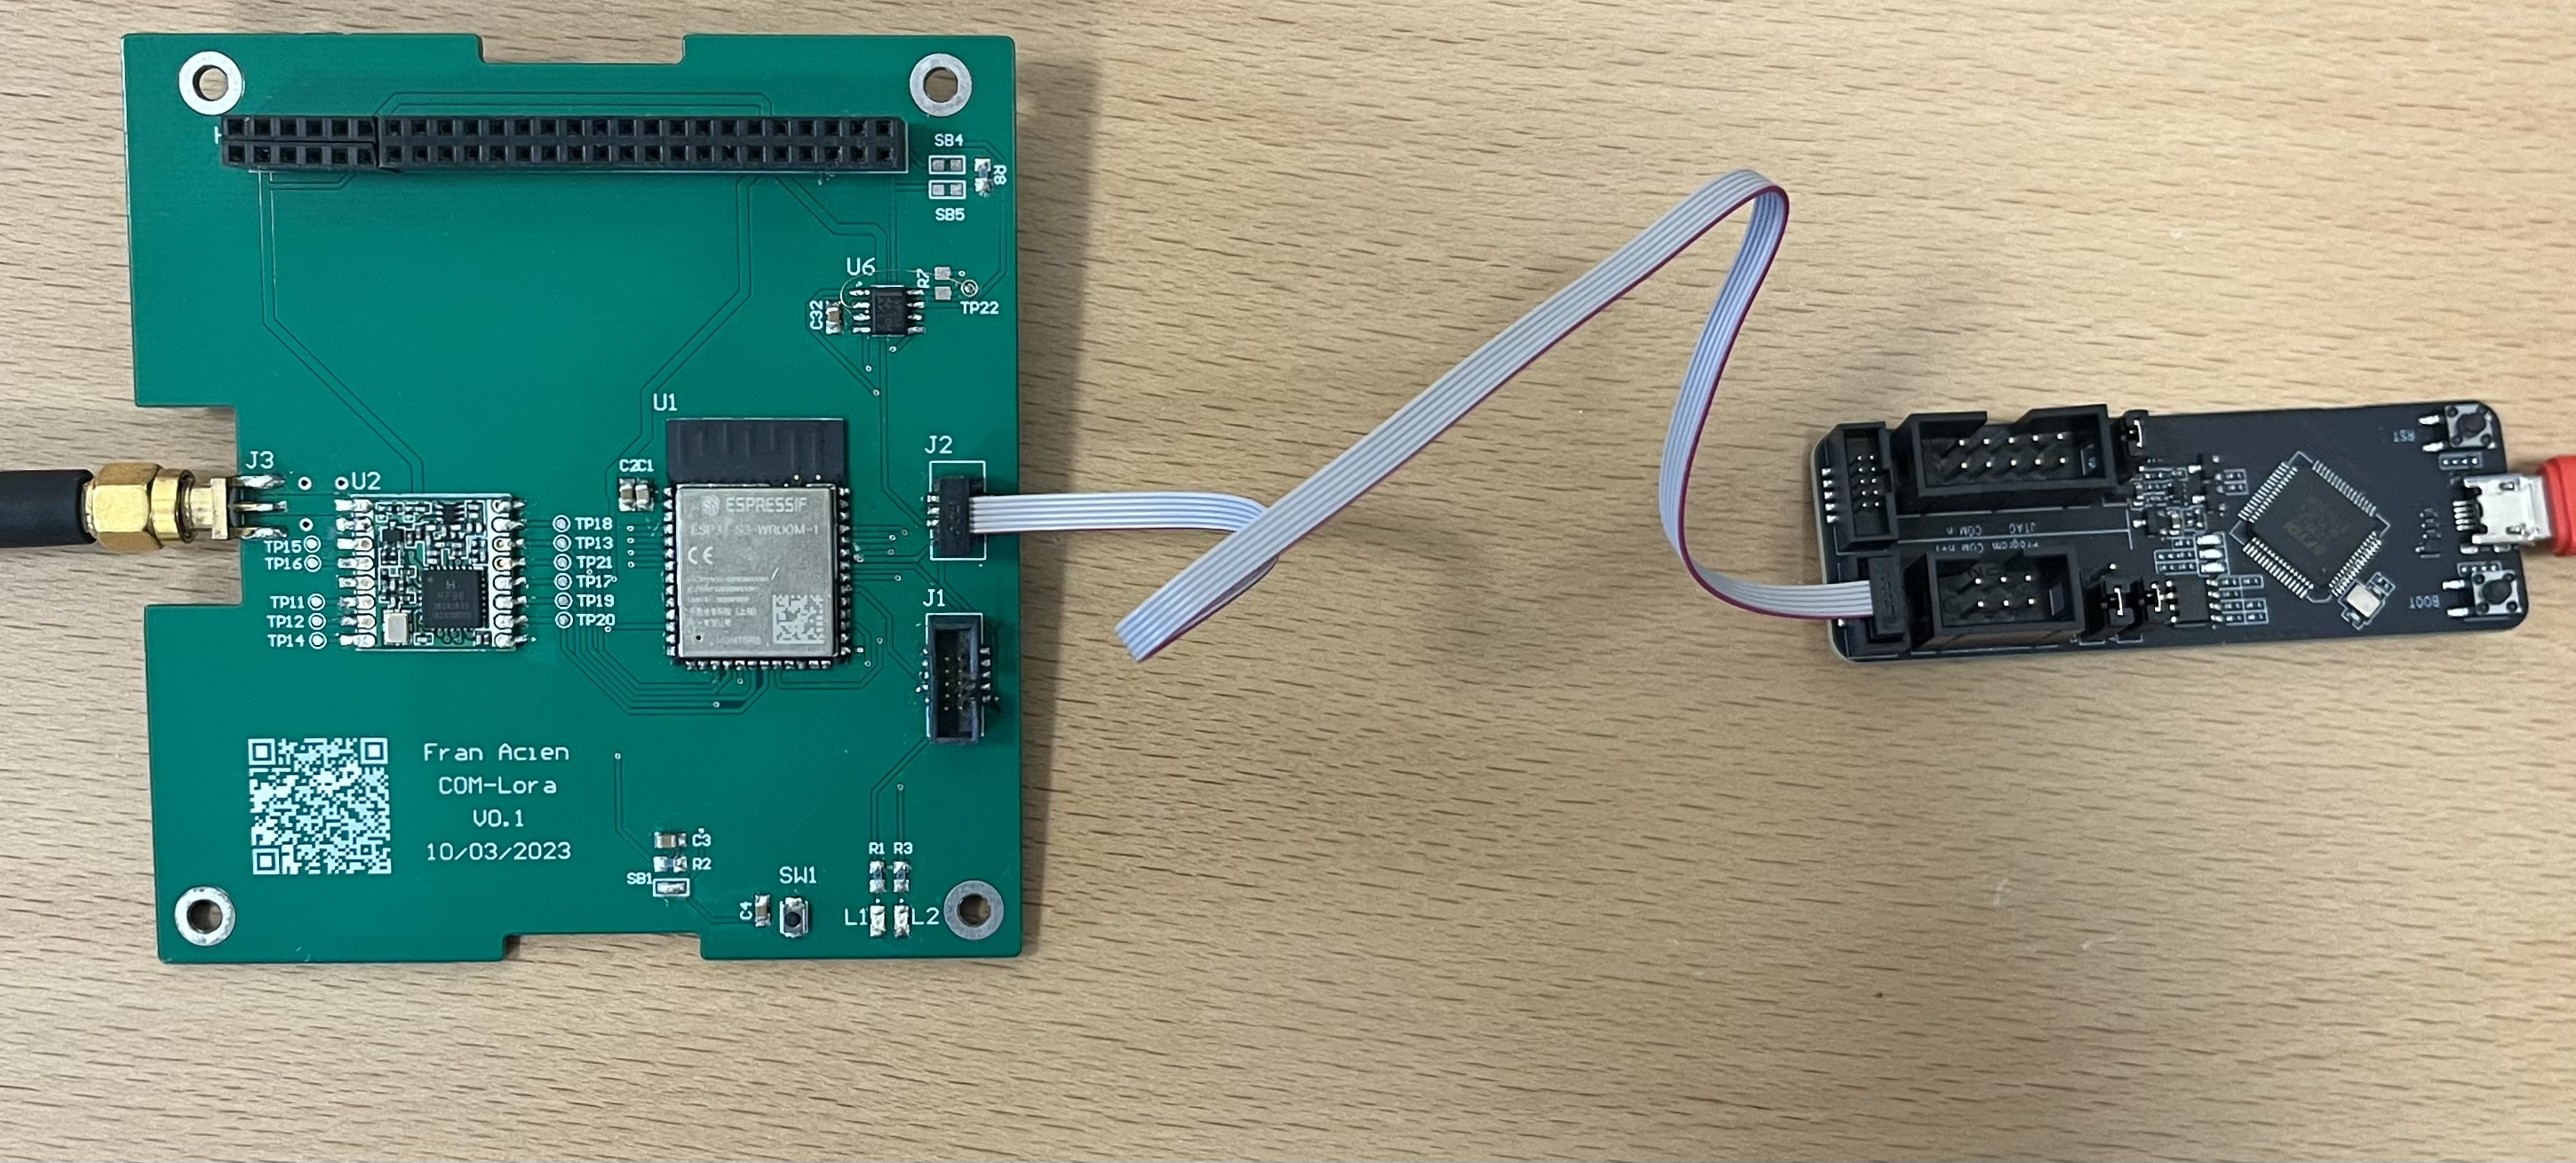
- Connect the ESP-Prog to the computer with a microUSB cable. You should be able to see the prototype system Power led high.
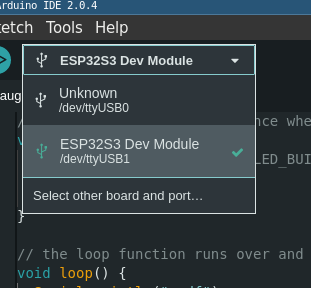
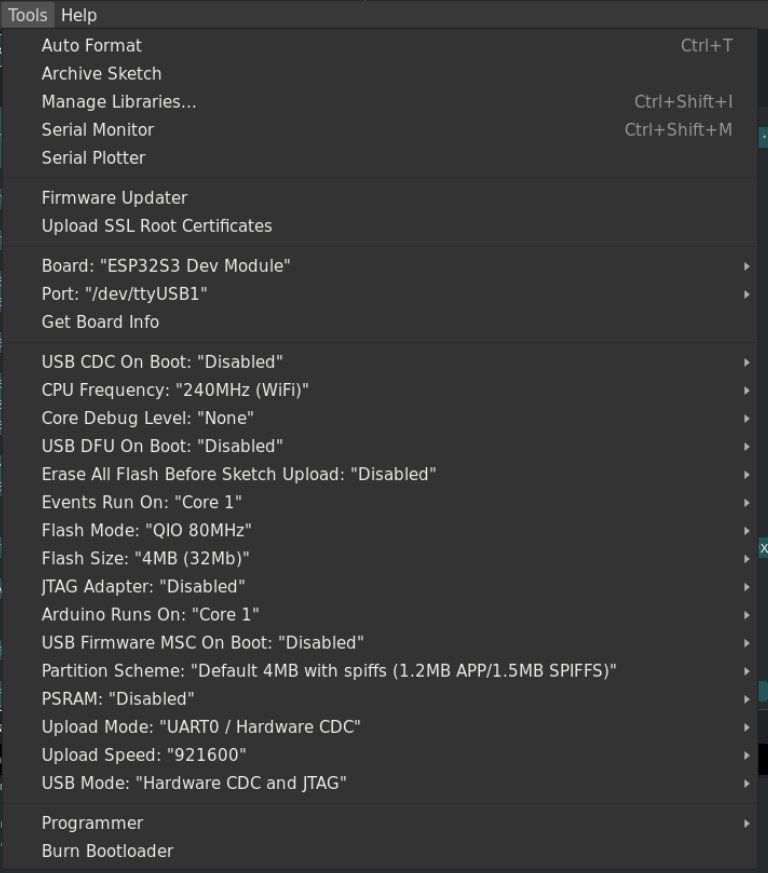
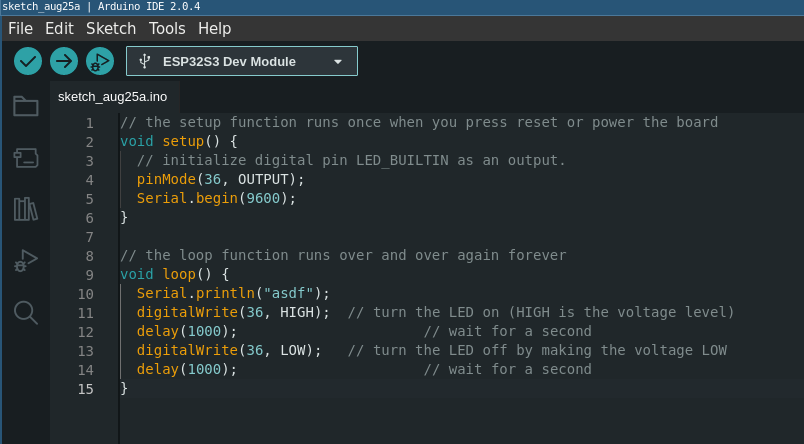
- Go to arduino IDE, and upload the next code to the board. It is the ESP32-DevKit. The builtin led is connected to the GPIO36 of the ESP32S3.
// the setup function runs once when you press reset or power the board
void setup() {
  // initialize digital pin LED_BUILTIN as an output.
  pinMode(36, OUTPUT);
  Serial.begin(9600);
}

// the loop function runs over and over again forever
void loop() {
  Serial.println("Hello world!");
  digitalWrite(36, HIGH);  // turn the LED on (HIGH is the voltage level)
  delay(1000);                      // wait for a second
  digitalWrite(36, LOW);   // turn the LED off by making the voltage LOW
  delay(1000);                      // wait for a second
}
- You should be able to see the led blinking
How to flash the COMMS software using Platform IO
After the last example we are ready to flash the COMMS firmware. This time we will use Platform IO to upload the code.
The firmware of the COMMS can be find in
this gitlab repository. You would need to clone the repository in recursive mode. Like git clone git@gitlab.com:insightsat/comms/com-lora-firmware.git
After that you are ready to flash the software using Platform IO. Here is a simple guide about how to do it.